Logo Design
Let me bring your vision to life!
A logo is the face of your small business. It's what people see first when they come across your brand, and it's what they'll remember long after they've interacted with your products or services.
An effective logo can communicate your business's values, personality, and uniqueness, all in one image. Below, we'll go over the important steps you should take to create a logo that truly represents your small business.
Step 1: Define your brand identity
Before you start designing your logo, you need to have a clear understanding of your brand identity. This means defining your brand's mission, values, personality, and target audience. Your logo should be a reflection of your brand identity, so you need to know what that is before you start designing. Take some time to think about what sets your business apart from others in your industry and what kind of message you want to convey to your audience.
Step 2: Research your competitors
Take a look at what your competitors are doing with their logos. You don't want to create a logo that looks too similar to theirs or you'll risk blending in with the crowd. Look for opportunities to differentiate your logo from your competitors' while still staying true to your brand identity. This doesn't mean you need to completely reinvent the wheel, but it's important to know what's out there so you can make informed decisions about your own logo.
Step 3: Choose your colors and typography
Color and typography are two of the most important elements of your logo. Choose colors that represent your brand's personality and values. For example, if your business is in the health and wellness industry, you may want to use calming colors like blue or green. If your business is in the food industry, you may want to use warm, appetizing colors like red or orange. Choose a font that's easy to read and reflects your brand's personality. Serif fonts are typically more traditional and professional, while sans-serif fonts are more modern and casual.
Step 4: Sketch out your ideas
Once you have a clear understanding of your brand identity and what you want your logo to communicate, it's time to start sketching out your ideas. Don't worry about making them perfect at this stage. Just focus on getting your ideas down on paper. This will help you see what works and what doesn't before you start creating your logo digitally.
Step 5: Create your logo digitally
Now that you have some rough ideas, it's time to start creating your logo digitally. You can use design software like Adobe Illustrator or Canva to create your logo. Make sure to create a few different versions of your logo so you can see how it looks in different sizes and formats.
Step 6: Get feedback
Once you have a few different versions of your logo, it's time to get feedback. Ask friends, family, and colleagues for their thoughts on your logo. Don't be afraid to make changes based on their feedback. Remember, your logo is representing your brand, so it's important to get it right.
Step 7: Finalize your logo
Once you've received feedback and made any necessary changes, it's time to finalize your logo. Make sure to save your logo in different file formats so you can use it across different platforms and mediums. You may also want to create a style guide that outlines how your logo should be used, including color codes and font choices.
In conclusion, creating an effective logo for your small business takes time and effort, but it's well worth it in the end. By following these steps, you can create a logo that truly represents your brand and sets you apart from your competitors. Remember, your logo is just one part of your overall branding strategy, so make sure it is always consistent with the rest of your brand.
Want to discuss your ideas for a unique, custom Logo design?

We help local businesses grow through websites, local SEO, and targeted marketing that generates leads, calls, and customers.
Copyright Gung Ho Local, LLC 2018-2026. All Rights Reserved
BRANDING
Our branding services will help your business stand out from the competition. We offer logo design, brand strategy, messaging, and more.
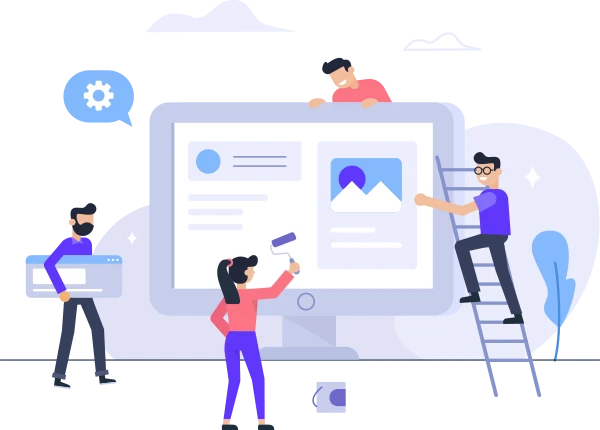
WEBSITE DESIGN
Your website is the first point of contact with potential customers. Our website design services ensure your site looks great, functions smoothly, and delivers a positive user experience.

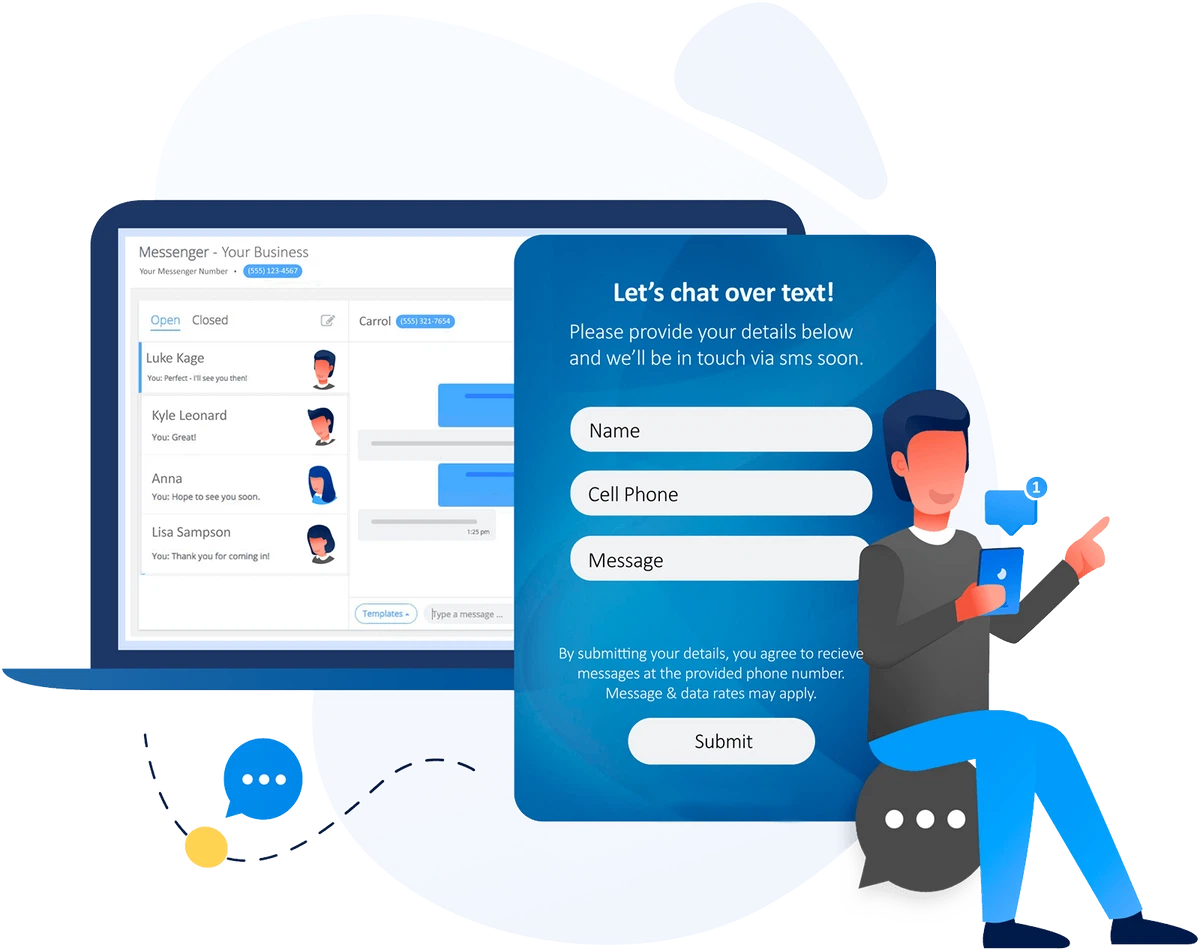
MESSAGING
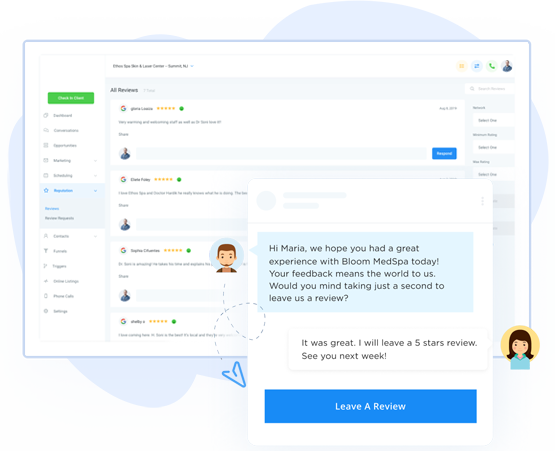
Chat with customers no matter where they contact you from- Google, FB, Insta, text, email, or phone call. Chat with live customers on your website and schedule more jobs, from our easy-to-use mobile app.
SEO & REVIEWS
Our SEO services focus on optimizing your website for search engines, including keyword research, on-page optimization, link building, and more.
We also work on getting you more (and better) customer reviews!